Wednesday 27 April 2016

Wednesday Worktable - 27th April 2016 - Cards and Gift Planning

I'm actually posting this on Wednesday this week - yay!  (Last week's post was several days late and no-one saw it!).

I'm joining in with What's On Your Workdesk Wednesday, at Julia's blog.  We each post about what is going on in our workspace and link up on Julia's post, then take a little tour to see one another's projects (and maybe marvel at how very tidy someone's desk is - or perhaps be comforted that others are just as messy as ourselves... )

This week, there are several things happening all at once, in my work area.  It's a bit chaotic actually, but I hope to bring some order tomorrow.

First of all there is this:

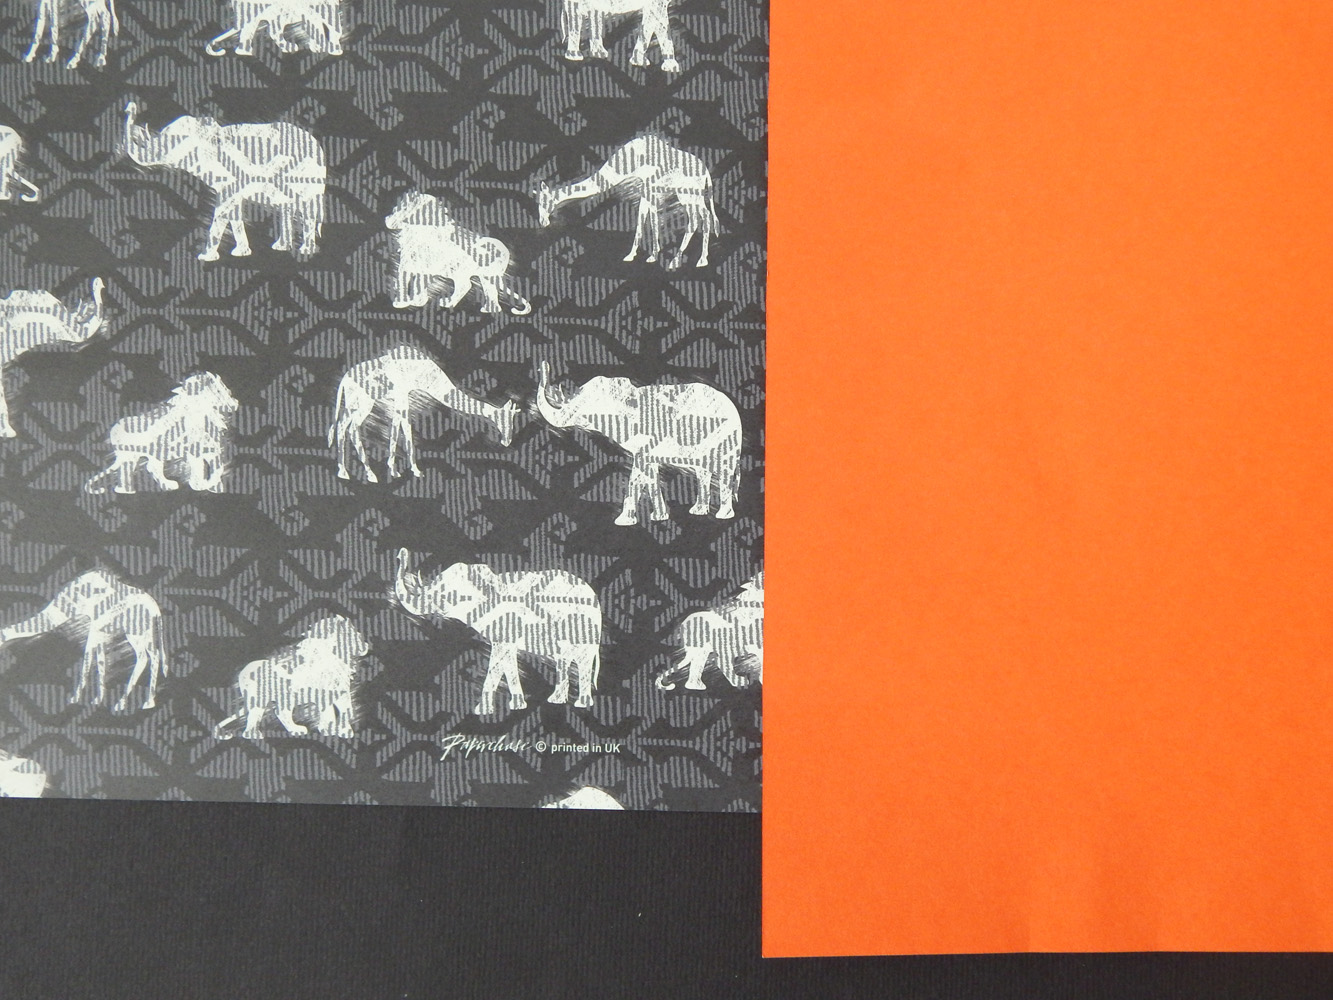
It's a notebook for a customer order.  All ready to be packaged up and posted - all the way to USA!  

This owl notebook seems to be very popular. I've sold several recently, which is fun.  I love the paper that is inside the cover and which has the owl on, that you can see through the little window.  There are also deer, badgers, foxes, rabbits... it's lovely.  

Then there are these: 


A couple of birthday cards.  The design is fun - I got the idea from Paula Pink, who I follow on Facebook.

It's a nice way to add interest to a card. You cut a corner (at 2cm or 3/4"), then the opposite corner (but 2cm further in), then crease the joins and fold it inside - like you can see below.  Then you embellish the bits that show on the front.  The cut-away part is also great for stamping a message, that you can see at the front also.

This is the inside of the first card... I used some glitter-glue to give the top "Happy Birthday" a bit of sparkle. 


...and this is the second card (so far).

And this one is a bit different - I cut the same corner, at 2cm and 4cm, then folded it down, over the decorated front.  I'll stick that plain bit to the front, so it makes a sort of frame.  I think this will work out very nice.  

And finally... 


A pile of leather pieces.


I'm planning leather notebooks.  James finishes school in about four weeks' time and we want to give his teachers something really nice, to show appreciation for all the hard work and patience they have put into the "A" Level courses.  

Thing is, there are six subject teachers from this year, plus a form tutor, also James' music teacher... and we might give gifts to last year's subject teachers too, which would make another three (I think!).  
This could be a bit of a Project - not to mention making a very serious dent in my leather supplies!  I think I'll have to re-think the leather notebooks for all teachers - I can make very lovely books with paper and fabric covers! 

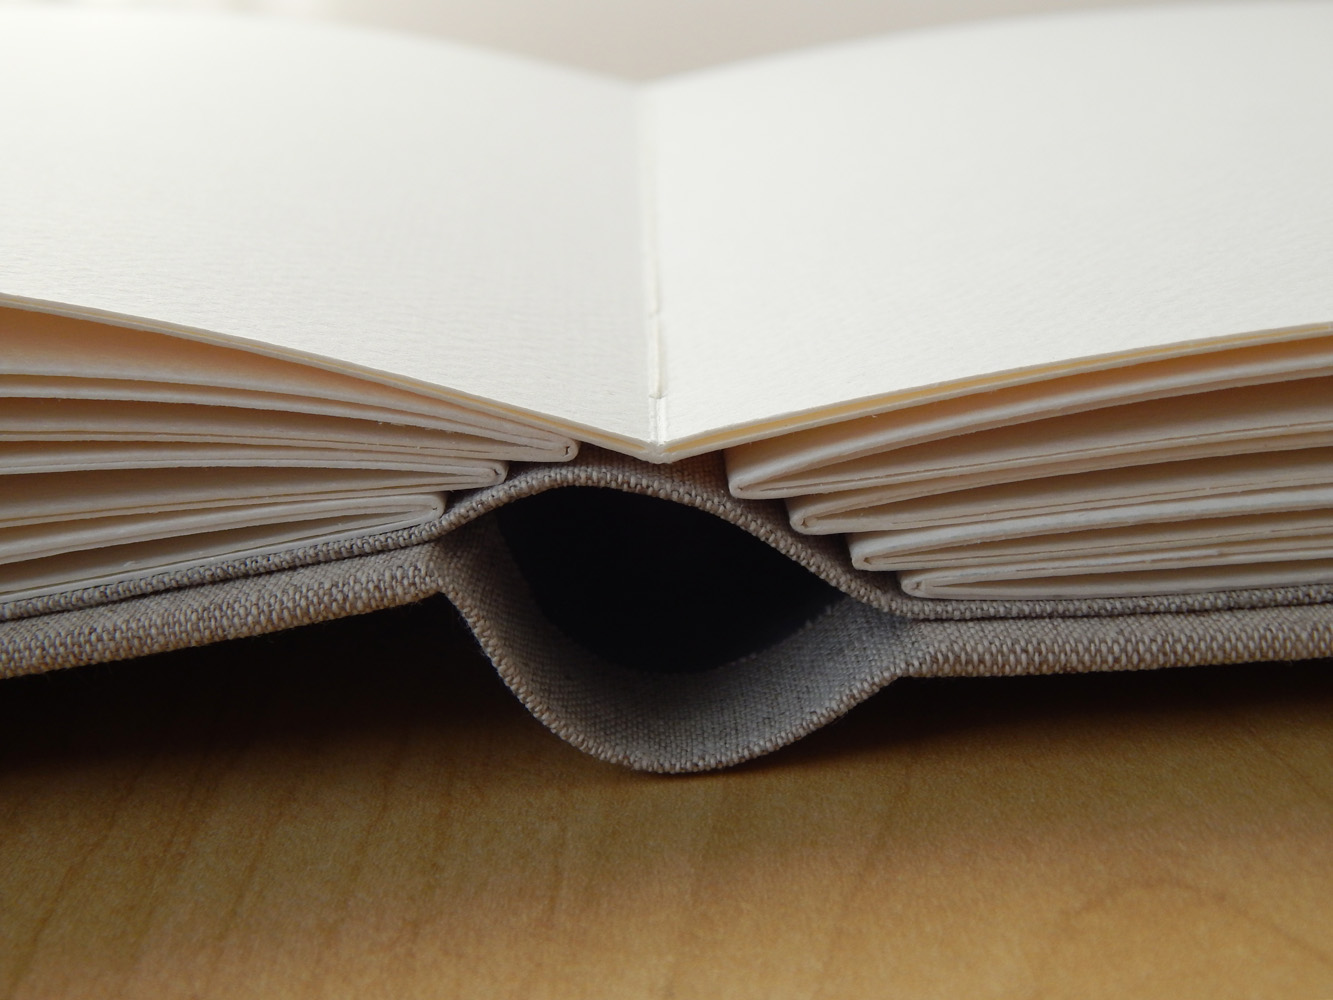
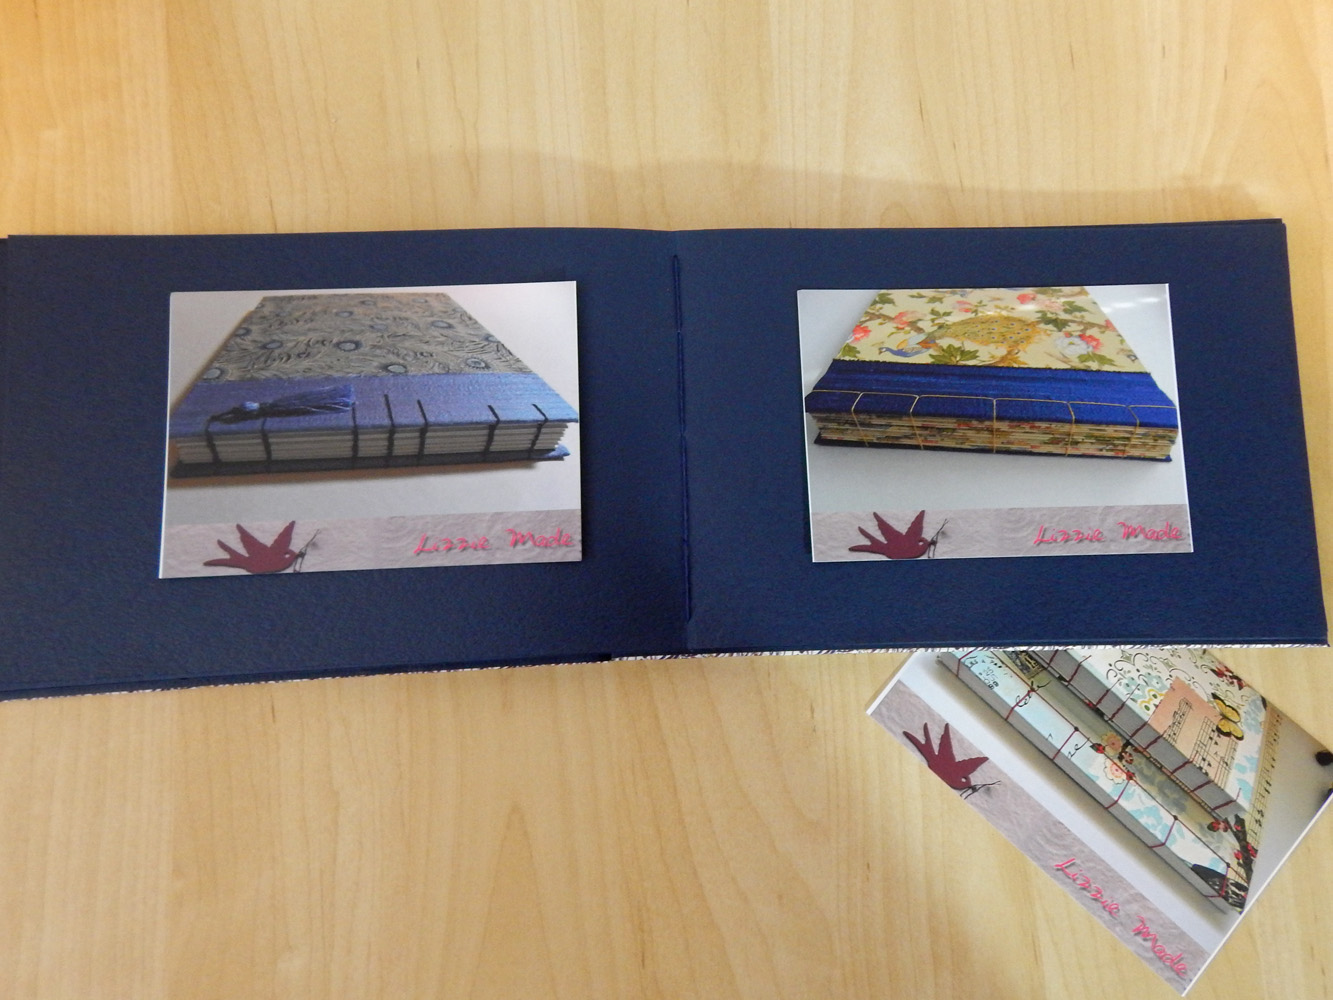
Anyway, thank you for coming to see what I'm up to.  As I said, it's a bit crazy, but I hope to have some completed projects to show soon.  I'll be in my studio and the bindery tomorrow, working on the African Photo Album project that I posted about last week, then starting on the leather notebooks above.  So hopefully there will be something finished to show soon! 

Now you've reached the end, do hop over to Julia's Blog, to see the other WOYWW posts for this week.  


Sunday 24 April 2016

Wednesday Worktable - Wednesday 20th April 2016 - An African Album

I'm late, I'm late, I'm Late!!
But I still wanted to join the party, so here I am, better late than never, joining in with the "What's on Your Workdesk Wednesday" feature, at Julia's Stamping Ground ...   


This is what was happening on my desk on Wednesday: 


Sorting out papers for a book commission.  The customer has just come home from a trip to Africa, where she was lucky enough to work with elephants.  She wants a photo album to use for photos from her trip - "something jazzy".  

I came up with a selection of hot, bright colours and that lovely sheet of paper with African animals. Lots of other papers too, but these are what she chose, so I won't bore you with the rest (though if you really want to see, they are in this photo album on my Facbook page, where I will be posting "in progress" photos.)

I hope to post a couple of pictures of the album, once it is in progress and/or finished, so feel free to pop back in a few days, to see what has happened. 

I also had various bits and pieces lying around, to use for making a few more cards on Wednesday evening, at our regular craft club.  No photo of those though - but I will try and get a picture of some finished cards, in case anyone is interested!

Anyway, thanks for visiting, even though I am so late in posting.  If you want to see everyone else's work desks, then head here, to Julia's Blog, where there is a list of links for the others joining in with WOYWW.  


Saturday 16 April 2016

Book Making Round-Up

As I haven't blogged for such a long time, I thought I would make a post about some of the bookbinding work I've been doing over the past few months.

I've been attending a bookbinding class for the past two terms, at a local adult education centre.  They have a nicely equipped bookbinding studio, which means I have had the chance to use "real" equipment, such as a plough and lying press.  It has prompted me to (finally) buy my own book press - a thing I have been procrastinating about for years!

It's also given me the chance to improve techniques I had already learned and to learn new techniques and methods also.  In fact, I have learned loads, from our wonderful tutor, who is a bookbinder and book restorer - and a really nice bloke too.  


A selection of the journals and notebooks I have made in the past few months.

I've made quite a few with leather covers, also a set of leather notebook covers, with matching notebooks to go inside.  
I've also made several hard-cover journals, in different styles, including traditional case-bound books - one with a leather quarter-bound spine, a few with coptic-style chainstitch bindings and some where the pages are sewn to a concertina, which then forms the book's spine, secured with a ribbon fastening.  


I've also worked on a few nice albums and guest books, which I'm quite proud of: 
A natural-coloured linen album.  This is very large - about 13.5" x 10", with stiff pages of white, slightly textured paper.  


It has a rounded drop-spine design, where the pages are attached to a separate strip inside the cover. 

The design allows the book to open out flat all the way through. 

I lined the covers with this camper-van design fabric, as the customer wanted this as a theme.  
It's gone off to be a memory book, for a tiny boy who lost his daddy very suddenly (and his mum who was widowed unexpectedly, leaving her with a baby of 15 weeks old).  I do hope it brings them some comfort and helps to keep happy memories alive. 

I also made this photo album, which is an unsual design.  It has lovely Italian paper (by Rossi) on the covers and gorgeous deep, midnight blue pages, made from a fabulous stiff paper that my tutor found in Germany. Sadly, the paper was expensive, so this will be the only one I can make from it, as G. only bought a very few sheets and sold me what he had left!  


The spine is a concertina of stiff paper, onto which sets of pages are sewn.  This allows lots of room for expansion, so photos and other items can be attached to the page, but the book will still keep its shape.  
It's necessary to tie the book, in order to stop it springing apart at the spine, but the ribbon tie will look attractive and makes a good adjustable fastening.  

You can see the spine/page arrangement here.  A set of pages is stitched to the point of each concertina fold, giving you lots of space within the album.  

The book will open nice and flat, all the way through.  It will hold 6" x 4" or 7" x 5" photos, in portrait or landscape orientation (two portrait to a page, or one landscape). 

This was an experiment, to see how it would work.  The covers are made by wrapping a lining sheet all the way round the cover board, then wrapping the outside cover paper vertically over the top and tucking it inside.  There is a minimum of glue required, but it gives a really nice finish.  I experimented further with this design - one of the journals in the top photo-collage is made in the same way.  

Some of the work here was done at home, but a few were projects done in the bindery at the craft centre.  This includes the three traditional hard-cover books in the top collage (photos 1, 4 & 5), plus the two albums above. 

I hope you've enjoyed my "catch-up" post.  I seem to do this from time to time - disappear for a while, then come back and try to catch up.  I suppose that's just how Life works!

I did join in with a "What's on Your Workdesk Wednesday" post this week and hope to do so again next time, so feel free to take a look at last Wednesday's post and come back next time too.

Thanks for reading! 


Wednesday 13 April 2016

Wednesday Worktable - Wednesday 13th April 2016 - Sparkly Peacock Birthday Card

Hello, I can't believe it's been almost five months since I posted on my blog!  I know I've been busy, but... well!

Anyway, I'm determined to get back on the blogging bicycle, so this week I'm joining in with the regular "What's on Your Workdesk Wednesday" feature, at Julia's Stamping Ground.

I've been making lots of books, but now and then I have a break and enjoy myself making other things.  This week I'm trying to make a few nice birthday cards, so my little work table is set up as a card-making station:

Cards in Progress.
I'm sure several people picked up the lovely stamp set from the "Simply Homemade" magazine (or the matching cutting die in "Cards and Papercraft"). 

I decided to make good use of this - and the die, which my husband kindly bought for me.


So, as you can see above, I made a pretty card with a sparkly peacock: 

The peacock is stamped in permanent black ink, onto both greeny-blue and magenta paper.  I then cut out the peacock's body and stuck it over the magenta body, before embellishing body and tail with "Stickles" glitter glue. See how shiny it is!  
I layered up various toning papers and also a little punched trim, for some added interest, then used the "Happy Birthday" stamp to make a little panel for the top.  Finally I mounted the peacock on foam pads, to make it stand out from the surface. 

I attached the whole panel to a card blank and used a kraft card window to frame it.  Then I inked the edge of the card and drew a line round the edge of the aqua and kraft rectangles, to make it look more "finished".  

Overall, I'm pleased with the end result - it's been a while since I did any card-making and it was fun, as well as looking quite nice. 

Anyway, thank you for dropping by to see what I've been doing - especially after such a long break.  I want to join in regularly again, so hope to see you all next week. 


LinkWithin

Related Posts Plugin for WordPress, Blogger...