Showing posts with label Tutorial. Show all posts

Friday, 16 November 2012

Frosty Festivities Blog Hop - Another Make to Share!


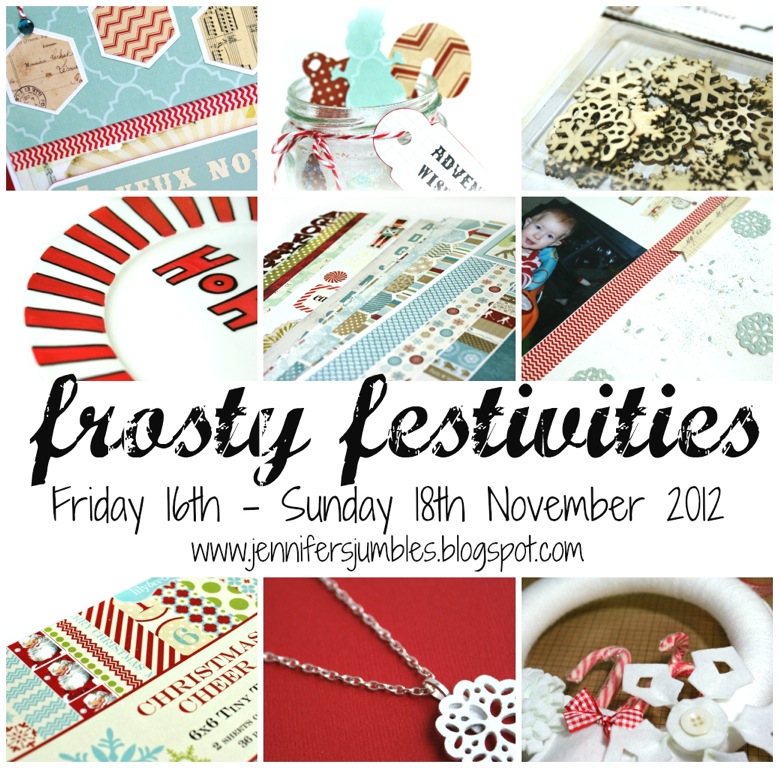
Hello! Welcome to my post, which is part of our "Frosty Festivities" Blog Hop.  Our theme is "Winter" and my contribution is below.

You should have landed here from Lisa-Jane's blog.  If you didn't come from there and you want to follow the whole Hop, then it started at Jennifer's blog (and it ends there too!). 

There is also a complete list of every blog, in order, just at the bottom of my post.

* * *

Remember, if you follow the entire Hop and leave a comment after each person's post, go back to Jennifer's blog to let her know.

If you do, you'll be entered in the draw for a great prize of items from these two collections: Basic Grey Aspen Frost and Carta Bella Winter Fun items, worth over £25.
All entries must be received by Monday the 19th of November at 10.59pm GMT.

 * * *
Paper Drops Christmas Decorations

My previous post was instructions for making a string of little paper hearts:

 
 Of course, these could be made as Christmas Decorations too!
Pretty, eh? 
Do you see the little shapes in the middle of those banners?  Sort-of tear-drop or leaf shapes? 
I thought you might like to make some of these too.  They're simple and enjoyable to make and they look very effective, either hung individually,  or in a long string.
 
To Make the Decorations
 
You need a few paper strips.  Mine were about 8" long and 1" wide.
    
Fold each strip in half, as shown.  
Choose two strips that you think look nice together. 
Decide which will be the Inside strip and which will go on the Outside.
 Cut about 1/2" from Both ends of the Inside strip
so it will be 1" shorter than the other

Mark about 1/4" from the folded edge of each strip and make a hanging hole
(I used a tiny hole-punch, but you can use a big needle, an awl etc). 
 
On the Inside Strip, apply about 1/4" deep strip of glue to one end...
...and on one side in the centre.

Fold the strip and press the glued parts together.
 
Now apply glue to the Outside Strip, at Both ends and both parts of the middle, as shown.

Carefully fold the Outside Strip round the Inside Strip, with the cut ends together. 
Press the glued cut ends of the Outside strip onto the same (ie. cut) ends of the Inside strip, as shown.
Now, press the folds together...  
...then press the glued parts at the top as shown.
Gently push the ends in, to curve the strips and open them out... 
...so you get a nice curvy shape like this.
(try not to be too forceful when you push, or they end up wonky!)

 You can put a hanging loop on each shape, using a piece of thick thread, or fine ribbon.
These ornaments look pretty hung on their own.  They can be hung from the Christmas tree too.
Or you can make a long string, like this. 
Space the ornaments evenly - mine are about 4" apart.
I used a medium-weight linen thread to string them together.  
Lay the ornaments out as you go, to get the right spacing.  
Use a dot of glue over each hole, to secure the string in the right place
and prevent the ornaments sliding around.
 
Then hang them up somewhere where you can admire your work!
 
 
* * *
I hope you enjoyed my post and fancy having a go at your own ornaments.  Why not combine them with some of the heart-shapes, for an interesting decorative banner?
 
* * *

Your next stop on the Blog Hop is Louise: www.scrapbook-me.blogspot.co.uk, so remember to "hop" over there - after you've left me a quick comment, of course - so you'll be entered in the prize draw!


This is the entire Blog Hop List, just in case you need it:
Lizzie (you are here!)
Jennifer (don't forget to leave a comment, to let her know when you've been all the way round and left a comment on every blog!)


Monday, 15 October 2012

Paper Hearts Bunting Tutorial

Hello Blog Friends,

I was playing with paper today and thought you might like to join me.  I have made a string of paper hearts - a kind of bunting. 

It's cheerful and fun; I might save it for the Christmas Tree in December - or I may just use it to decorate the studio.
Anyway, below is a photo tutorial, in case you would like to have a go yourselves. 

Paper Hearts

I was playing with some little coloured paper strips, that I had left over from a bookbinding project.   They're about 7mm (.25") wide.  You could use Quilling Strips, if you have some lying about, which you haven't got a use for!
For each heart, I used two paper strips - one coloured and one in cream paper.  The "inside" strip was about 14.5cm long (about 5.5") and the cream "outside" strip was about 17cm (6.75").   It doesn't matter too much if the lengths vary - you can experiment and use whatever suits you. 
Fold all paper strips in half. 
Apply glue to each end of the coloured strip - on the outside.   Line up the outside of the coloured strip, with the inside end of the cream strip and press together to stick.  Do this with the other end also. 
You will have a sort of "double V" shape, like these.
Now apply glue to the Outside end of the cream strip.  Turn over the ends of the strips and press the cream strips together, as in the picture (you can see that it's already starting to look a bit like a heart)
Spread a little glue along the V-shapes at the centre of each strip (ie, the bottom point of the heart).  Press the coloured and cream strips together, lining up the centre creases.
Now, gently push the centre downwards, to make the double heart shape - as in the photo (you can do this with two hands - I needed one to take the photo!).  Then gently pinch the bottom point together, to stick.
Behold! The finished two-strip paper heart!
 
* * *
You can stop just here, if you want.  One cute paper heart, which you could use to decorate a card or scrapbook page, prop up against your pencil pot, post to a friend....
 
Or you could make lots of them, ready for a string of Heart Bunting...
  

...or just pretty patterns.
You don't have to do the final step either - you can leave the heart open, as I did with the blue one in the photo. 
Or you can use three strips of paper, to make a triple heart, like the orange one here, on the right.

Three different hearts, made with the same paper strips.
 

You could use the hearts by themselves, by adding a hanging strip - made from paper, thread or even ribbon (I know the orange ribbon isn't attached - but it gives you the idea...)
The paper strips don't have to be plain - it's a good way to use up scraps of patterned paper too.

Neither do they have to be small - use strips that are thicker and longer, to get big chunky hearts, for Christmas Tree decorations, party decor etc.
Attach a hanging loop by putting glue on the ends of the strip/ thread/ ribbon, pushing it between the top parts of the heart, then pressing together to secure.
 

Nor does the law say that you must only use paper for your hearts.  These are made from ribbons.  The heart in the top two photos is made from 1cm satin and grosgrain patterned ribbons.  I used both glue and a couple of small stitches to fix it together, with a stitched-in cotton loop for hanging.
 
The pink heart is made from 3mm (v. narrow) satin ribbon, in three shades of pink.  Again, I used glue and stitching to fix it together.  I made the hanging loop from pink cotton embroidery floss, with a matching little tassel stitched onto the bottom point.  You could even attach a jump-ring and make this into a necklace!
 
* * *
 

Making the Bunting String

Decide on an order for your coloured hearts - of course, there is no reason why you should make them all different colours - you could use the same colour(s) for every heart if you wish, to match a colour scheme. 
Red and white would look rather "Skandi" and a bit Christmassy.  Green would also be good for Christmas, or maybe you'd like pink for a little girl's bedroom, or yellow to brighten up a dull corner...  How about Black and Orange, to make a string of spooky hearts, for Halloween?
 
Use a punching mat, offcut of corrugated cardboard, old cereal carton etc and push a needle or awl through the outside paper strip, as shown.  You need two holes per side, positioned so that the thread will go through fairly close to the top of the heart, without interfering with the coloured "inside" strip.
Push the needle through all the holes, then draw the thread through.

Use a small spot of glue, to prevent the hearts sliding along the thread and bunching up.


Thread lots of hearts together, then hang them up! 
 
* * *
 
There you are, a Paper Heart Bunting String - so easy to make, but so pretty!  I'd love to know if you have a go at this project - leave me a message and/or a link to a photo of your own work.
 

LinkWithin

Related Posts Plugin for WordPress, Blogger...